People often ask, how to build night vision monocular?
Let’s find out!
How to Build Night Vision Monocular?
Step 1: Gather all The Parts
- Image Intensifier Tube (P8079HP Cascade Tube)
- C-mount CCTV Objective Lens Assembly
- C-CS Adapter Ring
- Magnifying Loupe (25mm)
- 3″ PVC Pipe
- 3″ PVC End caps/Test caps
- 1 1/4″ threaded plug
- 1 1/4″ threaded adapter
- ABS Project Box (RadioShack)
- 2-4 AA/AAA Battery Holder (RadioShack)
- Toggle Switch
- Black Duct Tape
- Plastics spray primer
- Spray paint (color of choice)
Step 2: Test the Tube
After receiving your tube, you’ll want to connect it to an outlet and test it to make sure it glows.
Before doing anything, be sure to check out the wiring diagram for the circuit board. You may need to use an external power supply if you want to run the circuit at full capacity. Also, don’t overload the circuit board; you might damage it.
- The positive (or negative) side of the battery is the threaded brass hole at the end of the tube. It’s not really for sure on the exact thread sizes, but I think they’re metric and they’re pretty small. I found a small screw that fits the threads and put a wire connector on it.
Note: Don’t use soldering to connect the positive terminal. There’s some metal between the threads and the inside of the tube, so if you heat up the metal, it might disconnect the internal wiring. Instead, use a screw.
- The grounding terminal is the small round piece of wire that goes into the wall socket. Look at the picture if you need help finding it.
- If you temporarily connect it to 3-6V, you should be able to observe the phosphor screen lightup green after a few seconds. However, at present, you cannot clearly view anything.
Step 3: Making the Eyepiece
- We used a threaded plug and threaded adaptor to get our eyepieces onto the telescope. Then we removed everything except for the threads of the adapter so that they would be compatible with each other.
- Cut an opening in the bottom of the adapter so that you can insert the plug into the adapter. Make sure the opening is large enough for the plug to fit inside.
- Cut another small opening in the threaded plug so you could see through the lens.
- After sanding down the ridged surface of the threaded part of the lens cap, wrap electrical cable tie around it to secure it in place. Then, wrap additional electrical cable ties around the lens cap to secure it tightly inside the end of the lens cap.
There are two things to note here: First, don’t let any paint touch the threads of the eyecup; second, use a strong superglued for the adapter.
Step 4: Making the Objective
- For the objective lens mounting, basically, you just have to glue your C-CS (or whichever) lens mounts onto your camera body.
- Drill a hole for threads to go through the top of the end caps.
- Attach the adapter to the end caps.
- Screw in your lens, and you’re done assembling the camera body.
Step 5: Adding Power
Before doing anything else, you’ll just need to drill a small opening into your battery holder and then into a project box or other enclosures where you want the wire to run.
Step 6: Painting
Painting is an extremely important part of this project because PVC plastic lets a small amount of ambient lighting into the objective lens of your telescope. This causes a problem if you don’t want any unwanted stray lights coming into the viewfinder of your telescope.
- If you want to fix this, first unscrup your tubes and any optical glasses or lenses, then lightly sand them with fine grit paper, and finally go outside to paint.
- If you don’t tape off any threads before painting them, you may end up having to remove some paint from them later. To prevent this, first coat all of your parts with plastic primer. Then, use two thin layers of acrylic paint.
- The most important thing is that you need to paint the inside of the objective end caps so that they don’t let any light leak through them if the paint on the outside scratches or comes off.
- After the primer dries, feel free to use whatever colors you want for your scope.
Step 7: Shimming and Focusing the System
To begin with, you need to ensure that the tube fits snugly into the PVC pipe so that it doesn’t slide around when you turn the water on. You can use duct or masking tapes to secure the tube in place.
- To get your microscope to be focused inside its housing, first, mount your objective lens, then slide in your microscope, and finally turn it on in a darkened room.
- To keep the tube from shifting over time, point it at something you can easily focus on, such as a wall or an object in the distance. Then pull the tube back out until you can see the picture clearly.
- Remember not to press or push directly onto the phosphor screen or photocathodes. Press on the outer edges of their ends instead.
- If you have trouble aligning the lens, try adjusting the objective lens to make alignment easier.
- To set the magnification for the eyepieces, place the magnifying lens at the phosphor screen and then use a ruler to determine the distance between the two.
- Screw the eyepiece cap onto the telescope until you can clearly see an image in the eyepiece.
- If you can’t focus, adjust your viewing angle by trimming your housing tubes. Once you’ve trimmed them down, you should be able too just screw the eyepieces into place to focus on the monitor.
And this is it! You’ve finished.
How to Build Night Vision Monocular?
What Is Night Vision Monocular?
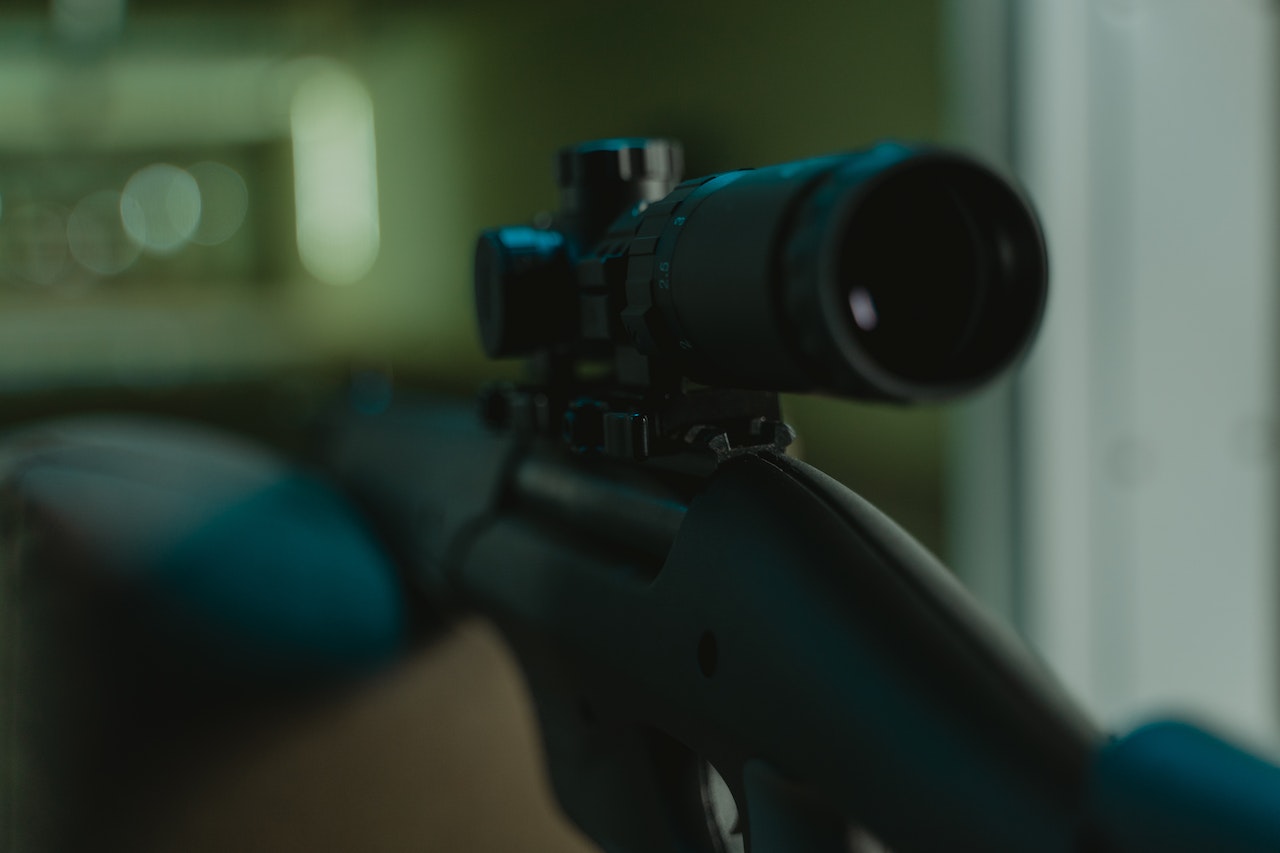
A monocular is an optical device used to view distant objects. Monocles can be attached to any type of weapon such as rifles, pistols, shotguns, sub-guns, etc. They are also commonly used by police officers, military personnel, hunters, and others who require a high degree of accuracy. Monocles are often equipped with magnifying lenses so they can see things clearly in dim light conditions.
Types Of Night Vision Monoculars
Night vision monocular devices come in two varieties – thermal imaging and passive infrared (PIR) monocular devices. Thermal sensing monocular devices produce an image by detecting heat, whereas PIR monocular devices detect infrared radiation emitted by warm objects.
Thermal Imaging Monoculars
Thermal imaging monocular is also called thermal scope. It works on the principle of detecting the difference in temperatures between an object and its surroundings.
This type of monocle uses a thermopile detector to convert the difference in heat into an electrical signal. These electrical signals are then converted into digital data by the microprocessor and displayed on the LCD display.
Passive Infrared Monoculars
Passive infrared (PIR) monocular cameras are similar to thermal imaging (TI) monocular cameras except that they don’t need an external power supply. They instead rely on ambient infrared radiation to create images.
Advantages And Disadvantages Of Night Vision Monoculars
The main advantage of a monocular is that it gives clearer images than binoculars even when there is no light available. It doesn’t require any external battery source so it can be used without having to recharge them.
Advantage
One advantage is that they can be easily concealed. There are however some disadvantages related to them.
Disadvantage
One disadvantage is that its color recognition ability isn’t perfect. It might also not be able to tell the difference between different colors.
Conclusion
We hope this article was helpful to you. If you have any questions, feel free to reach out in the comments below.