People often ask, how to use a monocular to measure distance.
Let’s find out!
How to Use a Monocular to Measure Distance?
A monocular is a good way to measure distances. It works by taking two pictures, one at a fixed position and another moving along the optical line. From the difference in sizes of objects seen in both photos, we calculate their relative positions.
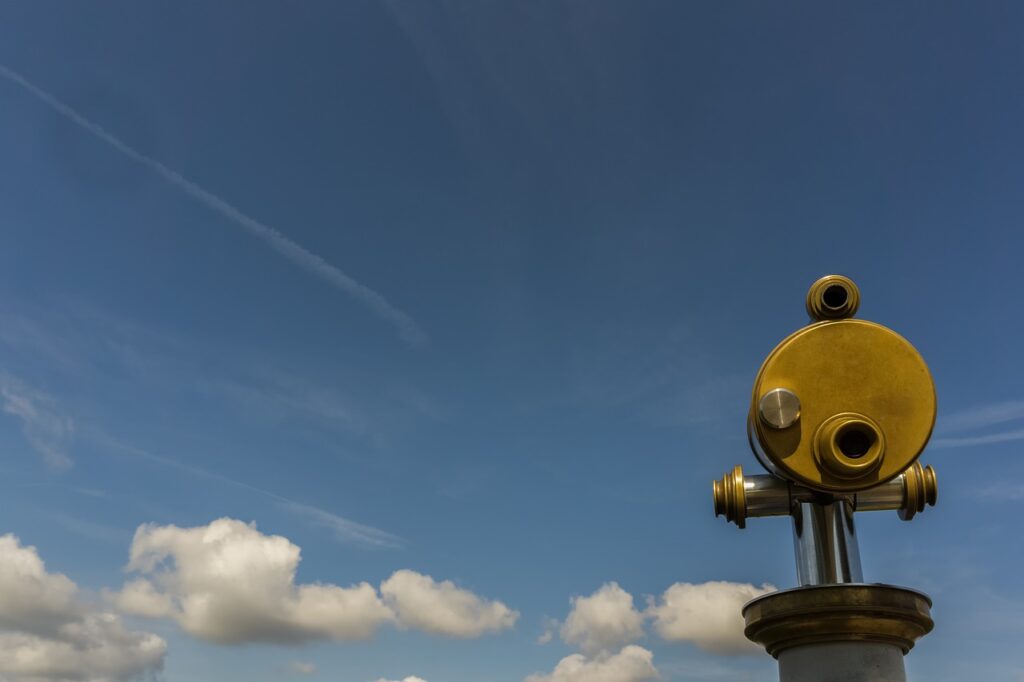
Monocular
Monocles are binoculars that have been modified to work as a single lens camera. They were invented by Dr. Carl Zeiss in 1846. The first model was called “Jena-Taschenbuch” (German: Jena Pocketbook).
The name changed over time, but they all had similar features. They came in various sizes and shapes. Some models even had built-in flashlights.
Magnification Power
The main difference between them was their magnification power. Some models could magnify up to 10x while others could only magnify 3x.
Types
Today, there are two types of monoculars on the market
- Digital
- Analog
Digital monoculars are more expensive than analog ones. However, they offer better image quality.
Analog monoculars are cheaper than digital monoculars. But they lack the ability to change focus. So if you want to take pictures, you need to buy a separate camera.
Designs
Digital monoculars come in three basic designs
Single Lens Reflex (SLR)
This design has a mirror inside the barrel. When you look through the eyepiece, the light from the object passes through the objective lens, hits the mirror, then goes back into the eyepiece.
Fixed Objective
In this design, the objective lens stays fixed at a certain focal length. The eyepiece moves along the optical axis.
Variable Objective
In this design, the objective lens moves along the optical axis when you zoom in or out.
Why Should You Buy One?
There are several reasons why you should buy a monocular.
Affordable
They are very affordable. You can easily spend less than $100 on a good monocular.
Ease of Use
They’re easy to use. You can carry them everywhere with you.
Use
You can use them for taking photos, recording videos, and conducting interviews.
Lenses
Monocular lenses are usually smaller than regular binocular lenses.
Weight
They are lightweight. You won’t feel tired carrying them around
Quality
Monoculars are made from high-quality materials.
Water Resistant
Monoculars are usually made from rubberized plastic so they’re water resistant.
Warranty
They’re reliable. Monoculars usually come with a warranty. If anything goes wrong with your monocular, you could take it back to the company that made it and they would fix it.
Finally, they are fun. There are so many interesting things you can do with a monocular. For example, you can use it to measure distances, identify animals, and see what’s behind trees.
How to Use a Monocular to Measure Distance?
How To Use a Monocular for Taking Photos?
Now let’s learn how to use a monocular.
Step 1: Choose Your Monocular
Before you start using a monocular, make sure you choose the right one. Here are some tips to help you find the best monocular for you.
Magnification Power
First, check the magnification power. Make sure it’s not too low. A low magnification will limit your field of view.
Eyepiece
Second, consider the size of the eyepiece. It shouldn’t be too big. Otherwise, you might get headaches. Also, don’t forget about the weight. Too heavy is also bad.
Price
Third, check the price. Don’t pay too much for a cheap monocular. They may have poor optics.
Step 2: Set Up Your Camera
If you plan to take pictures with your monoculars, you first need to set up your camera.
Here are some steps to follow.
- First, turn off the flash. Then, switch on the automatic mode.
- Next, adjust the ISO setting. Adjusting the ISO setting allows you to control the amount of light entering the camera sensor.
- Next, select the aperture setting. This controls the depth of field. The larger the number, the more details you can capture.
- Finally, set the shutter speed. Shutter speed determines how long the image remains stable after you press the button.
Step 3: Focus
The next step is focusing. Focusing is done by moving the objective lens closer or farther from the eyepiece.
To achieve sharp images, you must focus accurately. The following steps show you how to focus.
- First, move the objective lens toward the eyepiece until you see an object clearly.
- Then, slowly move the objective lens away from the eyepiece.
- When you see that the object becomes blurry again, stop moving the objective lens. That’s when you know you have achieved proper focus.
Step 4: Take Photos
After you have focused properly, you can now take photos. You can either hold the monocular in both hands or rest it on a tripod.
- When holding the monoculars in both hands, keep your elbows close to your body.
- Then, aim at the subject and press the shutter button halfway down.
- Hold the camera still for about 10 seconds.
- If you are using a tripod, make sure that the lens is parallel to the ground.
- The best way to do this is by placing one of the legs of the tripod under the bottom edge of the lens.
- Make sure that the other leg is placed firmly against the ground.
- Now, place the monoculars on top of the tripod.
- Aim at the subject and press down the shutter button all the way.
That’s it! You have just taken your first photo.
Step 5: Repeat Steps 1-4
Repeat these steps as often as you want. You can always increase the distance between the camera and the subject. This will allow you to capture more details.
Also, you can use different focal lengths. For example, if you want to shoot landscapes, you can use a wide-angle lens.
However, if you want to capture people, you should use a telephoto lens.
Step 6: Review Your Images
Once you have finished taking photos, review them. Look carefully at each picture.
Are there any parts of the image that look blurred?
Also, are there any parts that appear dark?
These are signs that you need to improve your technique.
Conclusion
We hope that this article was helpful. If you have any queries feel free to reach out in the comments section below.