
Table of Contents
People often ask, what is a diopter on a rangefinder?
Let’s find out!
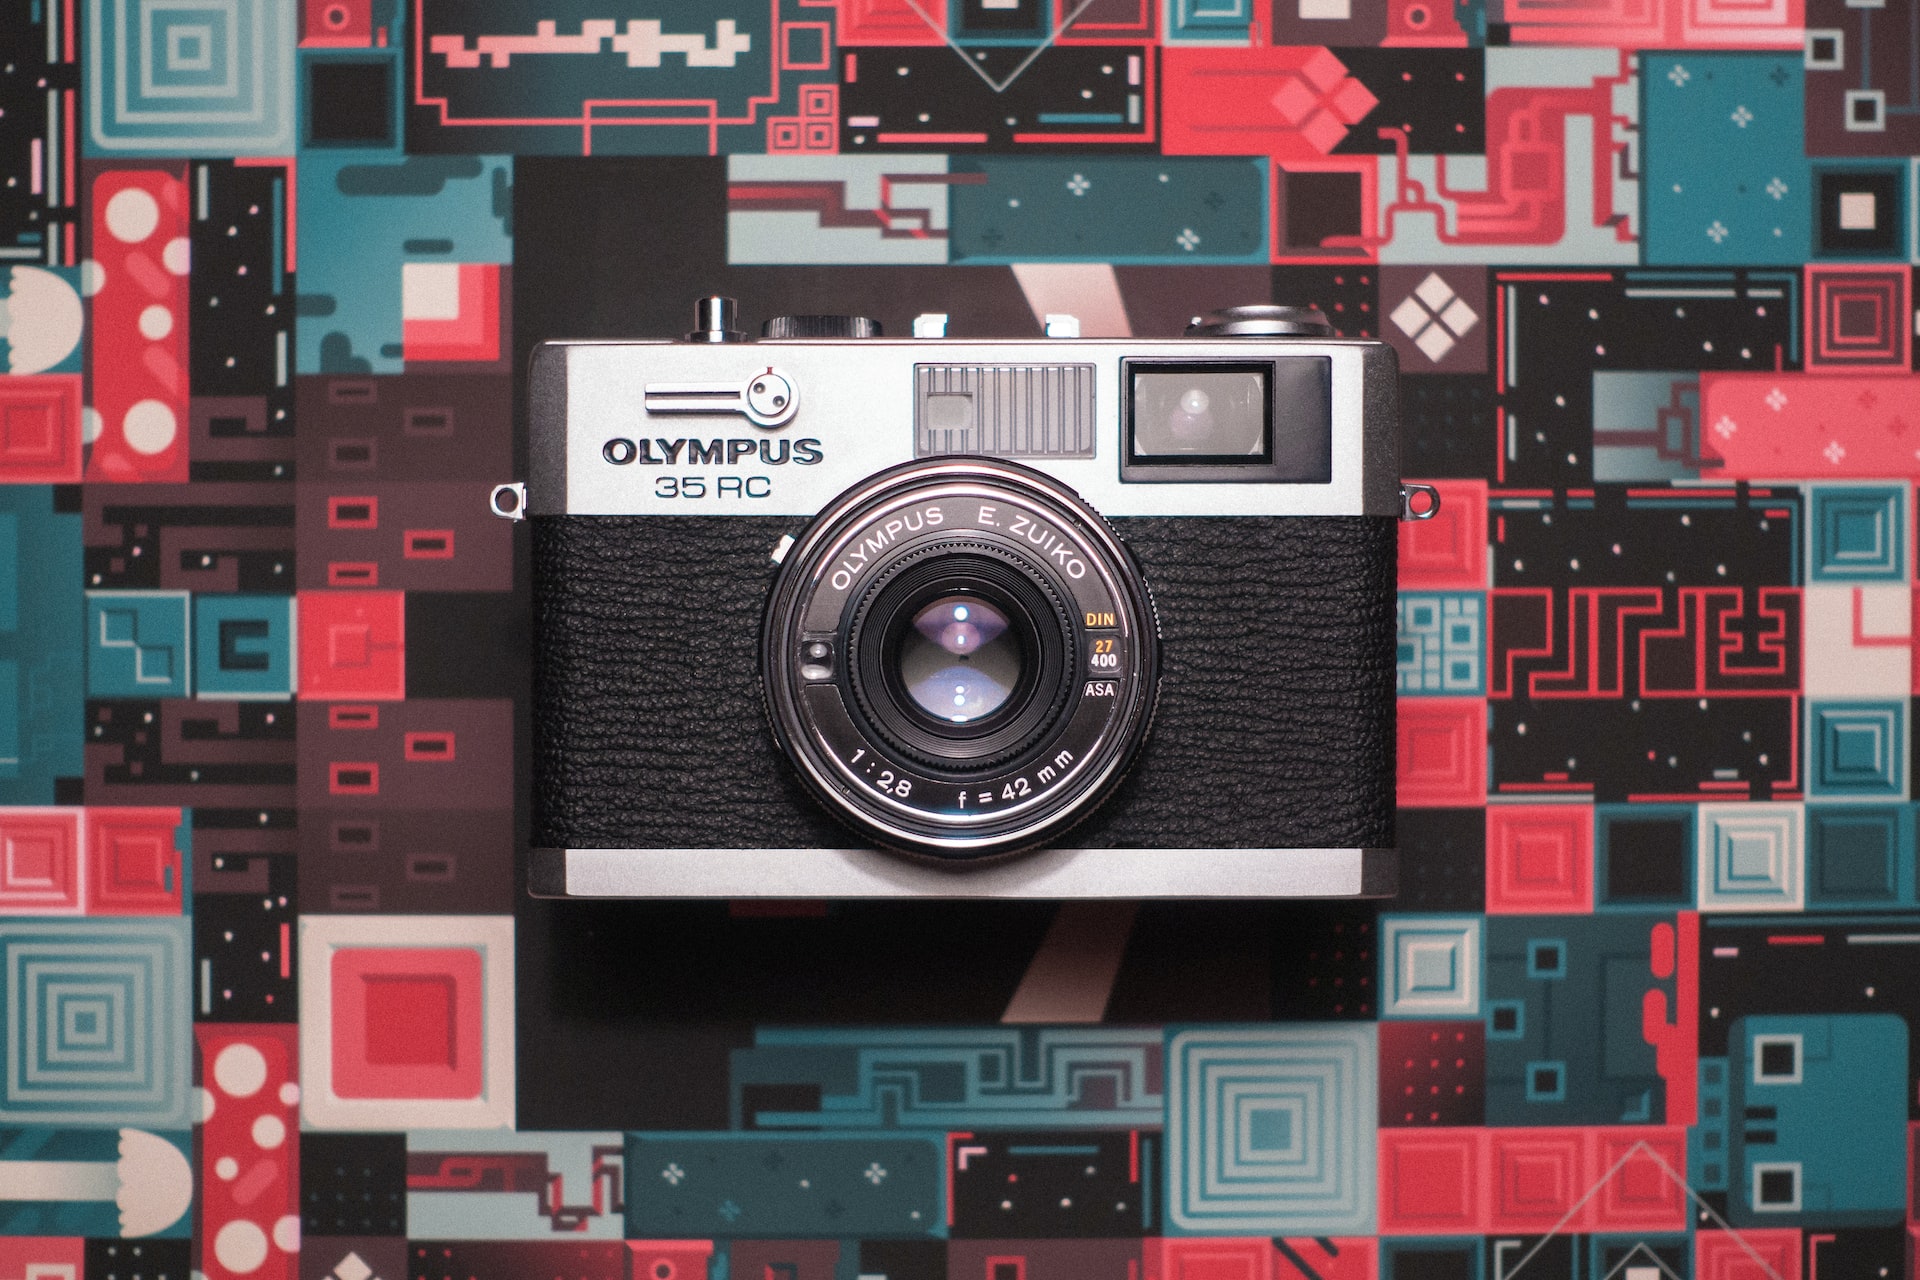
What Is a Diopter on a Rangefinder?
A diopter is an optical device that allows you to adjust the power of your lenses. It’s used for correcting vision problems and improving eyesight.
A rangefinder has a built-in diopter, which can be adjusted by rotating the lens barrel. The diopter is marked with numbers from -3 to +3.
This means that when you look through the viewfinder, the number will appear in the lower right corner.
What Does a Diopter Do?
A diopter is an optical device that shortens the focal length of a camera’s lenses. It works by increasing the magnification of the subject.
For example,
If you have an anamorphic lens set up that can focus from infinity (or close enough) to about three meters, then adding one diopter to the front will adjust your focus so that it can go from infinity to about four meters.
With no diopter, infinity focus, max aperture, min focus, and maximum zoom, the camera has an F/2.8 lens, which means its focal length is 2.8 times longer than the diagonal measurement of the sensor (which is approximately 22mm).
Whar does A +1 diopter mean?
A +1 diopter means that your maximum focusing distance has increased from infinity to three meters, and your minimum focusing distance has decreased from infinity to one meter. Your new range of focusing distances is between three meters and one meter.
If you’re using an infinity diopter lens without any additional focusing aids, then you need at least a +2 diopter lens for best results.
With a +2 lens, your maximum focus distance will be 1.5 meters, and your minimum focus distance will be 0.75 meters.
What should you think of when shooting indoors?
When shooting indoors, think about the focal length of your subjects and plan accordingly. If you’re shooting close up, you may want to use a zoom lens instead of a prime lens. And if you’re shooting at a longer focal length, you might want to add some extra diopters to your lenses.
With no diopter correction, infinity vision at 6 feet (2 m) is perfect. At 2 feet (0.7 m), it’s perfect. And at 3 feet (1 m), it’ll be good enough for most people.
Close and Macro Anamorphic Focusing
Once you’re familiar with using an anamorphic lens for normal shooting, you might want to experiment with macro focus to really enhance the look of anamorphic images.
Many anamorphic cameras require some assistance to achieve sharp images. Larger format cameras often have a minimum focusing distance of about ten feet/three meters, while smaller Iscan models can reach within two to three feet/one meter.
This should be among the primary factors when selecting which anamorphic camera to buy. Our custom single focal length anamorphic lens can attain sharpness within two feet (0.6 m).
If you want to focus closer than your current zoom setting allows, there are two options.
If You Have a Dual-Focus Anamorphic Setup
Dual focus anamorphic (also known as “anamorphic adapters”) are used to convert between two different focal lengths. They consist of a front anamorphic element and a rear focusing element.
To use them, you need to attach the front anamorphic element to one of your existing primes, and then attach the rear focusing element to another.
To get closer than your minimum focusing distance, you could use a diopter in place of your camera lens.
The Single Focus Technique
This trick works for any lens that has been adapted to be used with a rangefinder.
With dual-focusing, you can shoot using either your taking prime or your anamorphic lenses. However, if you’re new to dual-focusing, it might be easier for you to use a single-lens setup.
Instead of buying one single focal length lens, consider buying two lenses: a wide angle lens for general photography and a telephoto lens for closeup shots.
Then, attach a rangefinder to the camera’s front so you can quickly switch between the two lenses.
What is a Diopter on a Rangefinder?
5 Main Tips for Using the Leica M and Diopters
1. Live View
With the rangefinders, you’re not actually looking at what the camera sees; instead, you’re just guessing what the image looks like from the preview screen. So, when you adjust the settings for focus, exposure, etc., you’re making guesses rather than actual measurements. On the other hand, with Live View mode, you can look through the viewfinder and see exactly what the camera sees, which allows you to get an accurate measurement of the scene.
2. Backlight
To get the best results from your dioptric experience, you need to seek out strong backlight situations. The blending of dark and light is the key to creating moody images.
The backlight on your subjects means that some stray light from the background will interact with the lens and create unique patterns that can add interest to your photos. The more backlight the better.
3. Depth of Field
To maximize the blurring effects of the diopter, you must control the aperture setting carefully. Stopping down too far will cause the image to become blurry, but stopping down too close may reveal the hard outlines of the glass. You want to use the fastest lenses available for maximum blurring effects.
If you’re shooting at f/1.4, you might notice that the diopter throws too much out of whack and you end up with a big blurry mess. However, if you shoot at f/2.8, you’ll see that the diopter works better and gives you a nice sharp image.
If that is the situation, then you can just stop down a little, move the diopter farther away from the camera and you will start to see some more details.
4. Lens Choice
You need to know that depth of field (DOF) is one of the most important factors when using this method. If you’re shooting at f/1.4, then you want to use a wide aperture so that everything in front of and behind your subject is blurred.
On the flip side, if you’re shooting at f2.8, then you don’t want to blur anything because you want sharp images.
If you keep your lens longer, you’ll have a bit more space to move around when trying out this style.
5. Underexposing
If you’re shooting in a backlight situation and direct light is shining directly onto the lens, there’s a good chance you’ll get some really bright highlights if you don’t take care.
Nothing ruins one of those photos like a big blob o’ white where you didn’t want to go. To mitigate the chances of getting a hot spot like this, try overexposing and compensating for the shadows. You’ll appreciate it later.
Conclusion
We hope that now you know about diopters. If you have any queries feel free to reach out in the comments section below.


