Adding a photocell to an outdoor light allows it to automatically turn on at dusk and off at dawn, saving energy and enhancing convenience.
Photocells detect ambient light levels, making them ideal for security lights, pathway lighting, and landscape illumination. Installing one properly ensures reliable operation, prevents electrical issues, and extends the lifespan of your fixtures.
This guide covers types of photocells, wiring methods, installation steps, troubleshooting, and safety tips.
How to Add a Photocell to an Outdoor Light?
To add a photocell to an outdoor light, you’ll need a compatible photocell sensor, basic electrical tools, and a clear understanding of your fixture’s wiring. The process involves connecting the photocell to the light fixture and power source so that it senses natural light and switches the light on and off automatically. Always turn off power at the breaker before starting any electrical work and follow manufacturer instructions.
Types of Photocells for Outdoor Lights
There are several types of photocells available, each suited for different applications:
- Threaded Photocells: Screw directly into standard light sockets; simple to install for basic fixtures.
- Wire-In Photocells: Hardwired to the fixture or junction box; suitable for larger or fixed outdoor lights.
- Plug-In Photocells: Connect to a lamp or cord; easy to install without wiring modifications.
- Adjustable Sensitivity Photocells: Allow you to set light-on/off thresholds for precise control.
Choosing the right type depends on your light fixture, electrical setup, and desired level of control.
Discover how to build outdoor steps on a slope?
Tools and Materials Needed
Before installation, gather the following tools and materials:
- Screwdriver set (flathead and Phillips)
- Wire stripper/cutter
- Electrical tape or wire nuts
- Voltage tester
- Photocell sensor (compatible with fixture)
- Outdoor-rated light fixture or existing light
Ensuring you have proper tools and materials makes the installation smoother, safer, and more reliable.
Step-By-Step Installation Guide
Adding a photocell to an outdoor light requires careful planning and attention to safety to ensure reliable dusk-to-dawn operation. Begin by turning off the power at the breaker connected to your outdoor light. Confirm that the circuit is completely de-energized using a voltage tester, as even a small amount of current can cause shocks. Safety is the most important step in any electrical work, so double-check before proceeding.
Next, access the light fixture wiring. Remove the fixture cover, globe, or housing to expose the internal wiring. Depending on your light, this may involve unscrewing several screws or unclipping protective panels. Take care not to damage any wires or insulation as you open the fixture. Make sure you have sufficient workspace to handle wires safely and connect the photocell without strain.
Once the fixture is open, identify the wires. Standard outdoor light fixtures typically have three wires: black (hot), white (neutral), and green or bare (ground). Separating these wires carefully allows for easier and safer connection to the photocell.
Connect the photocell by matching the corresponding wires: black (line/load) to black, white (neutral) to white, and green (ground) to green or bare. Twist the wires together and secure them with wire nuts. Wrap the connections with electrical tape to reinforce and weatherproof the joint. For threaded photocells, screw the sensor into the socket or housing according to the manufacturer’s instructions, ensuring a snug fit without over-tightening.
After connecting the wires, mount the photocell so that the sensor has a clear view of the sky or ambient light. Avoid areas shaded by eaves, trees, or other structures that could block natural light, as this may prevent the sensor from functioning correctly.
Test the operation by turning the breaker back on. Cover the sensor with an opaque object to simulate darkness and confirm that the light turns on. If it does not, double-check all wiring connections, verify the bulb type is compatible, and ensure the photocell is oriented correctly.
Finally, if your photocell is adjustable, fine-tune the sensitivity to determine the optimal light-on and light-off points. Some sensors allow you to delay activation slightly to account for dusk conditions or prevent false triggering during temporary shadows. Regular inspection and cleaning of the sensor lens will maintain proper function over time, especially in areas exposed to dust, rain, or snow.
By carefully following this step-by-step guide, your outdoor light will operate reliably, providing safe, automatic illumination throughout the night while conserving energy.
Safety Tips for Photocell Installation
Electrical safety is critical when adding a photocell:
- Always turn off the circuit breaker before handling wires.
- Use outdoor-rated photocells and wiring to resist moisture and UV damage.
- Avoid overloading circuits; check fixture and photocell ratings.
- Secure all wires and connections with waterproof caps or tape to prevent shorts.
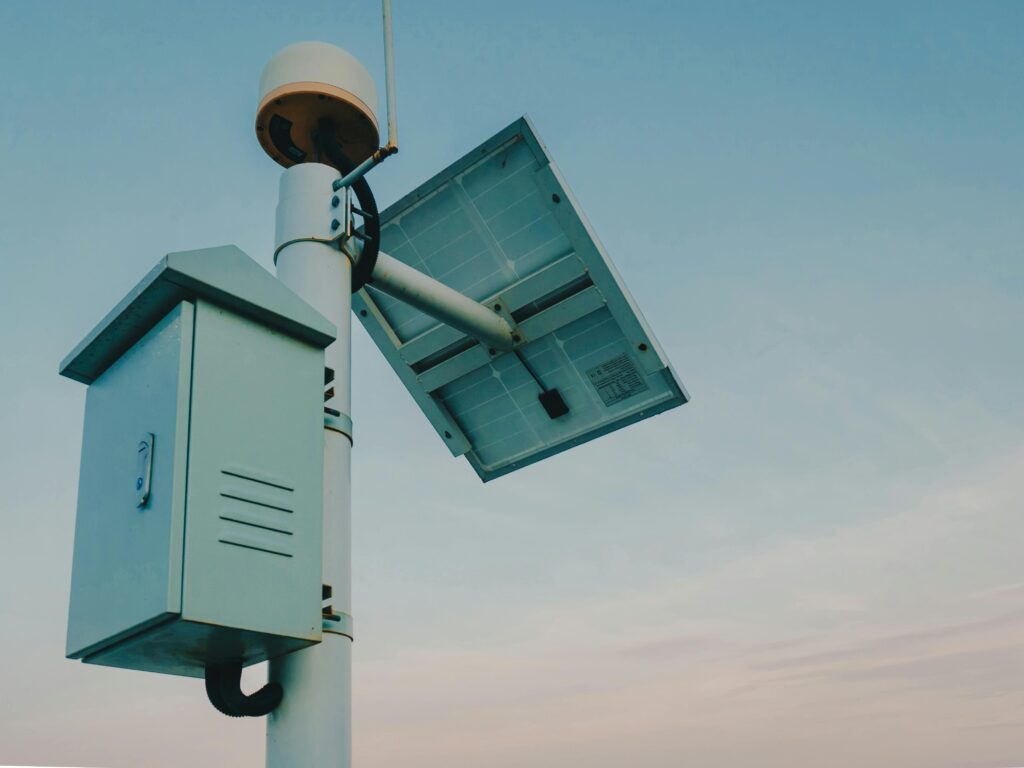
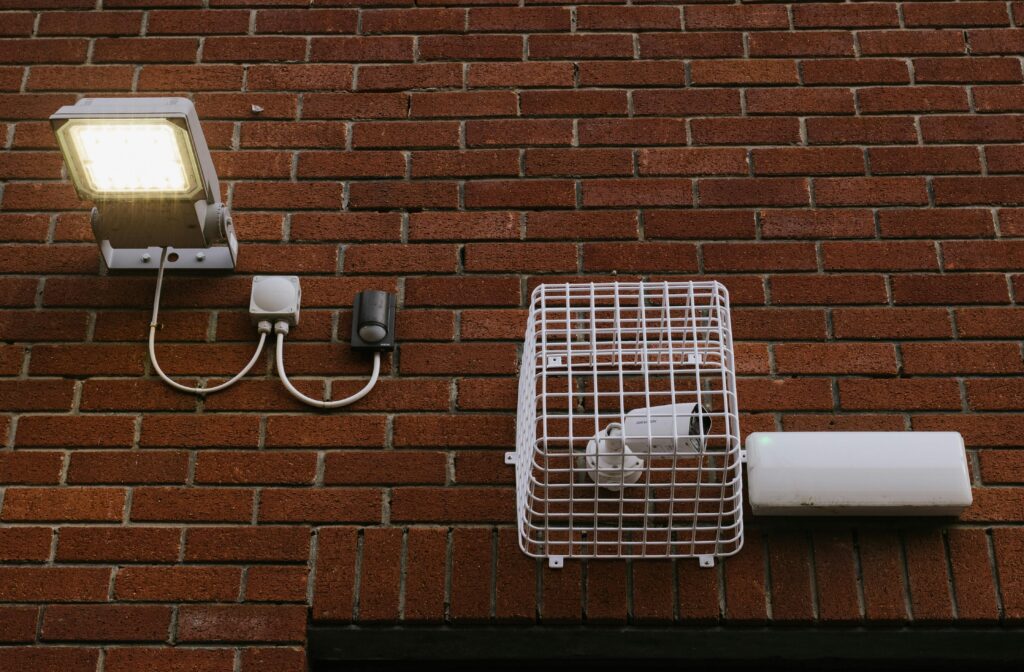
- Keep the photocell sensor free from obstructions, including plants or overhangs, to ensure accurate light detection.
These precautions prevent accidents, electrical hazards, and equipment failure.
Common Photocell Wire Connections
Understanding the standard wire connections of a photocell is essential for safe and correct installation, ensuring your outdoor light functions reliably and efficiently.
| Photocell Wire | Fixture Wire | Purpose |
|---|---|---|
| Black (Line/Load) | Black | Connects to hot/live wire |
| White (Neutral) | White | Connects to neutral |
| Green/Bare (Ground) | Green/Bare | Provides grounding for safety |
This table simplifies wiring identification, making installation safer and more efficient.
Troubleshooting Tips
If your outdoor light does not function properly after adding a photocell, consider these solutions:
- Light stays off: Check wiring connections, ensure the photocell is exposed to light, and verify breaker is on.
- Light stays on: Inspect for light pollution hitting the sensor, faulty photocell, or improper wiring.
- Flickering: Verify secure connections, proper load capacity, and compatible bulb type.
Regular maintenance, cleaning the photocell lens, and inspecting wires prevent long-term issues.
FAQs
Here are common questions about adding photocells to outdoor lights:
Can I install a photocell on any outdoor light?
Most outdoor lights can accommodate a photocell, but verify voltage, socket type, and load capacity before installation.
Do I need an electrician to add a photocell?
If you’re unfamiliar with electrical wiring, hiring a licensed electrician ensures safety and code compliance.
Can a photocell work with LED bulbs?
Yes, most modern photocells are compatible with LED, CFL, and incandescent bulbs.
Will a photocell turn the light on immediately at dusk?
Photocells detect ambient light levels; some delay may occur depending on sensitivity and weather conditions.
How do I protect a photocell from rain or snow?
Use outdoor-rated sensors and waterproof connections. Ensure the photocell is not blocked by objects or foliage.
For more outdoor tips and gear reviews, check out our latest guides.
Conclusion
Adding a photocell to an outdoor light provides automatic dusk-to-dawn operation, energy savings, and enhanced convenience. By selecting the right type, following safe wiring practices, and adjusting sensitivity, you can enjoy reliable outdoor illumination year-round. Proper installation and maintenance maximize efficiency and prevent electrical hazards.